
How to Play
The whole game is one loop: pick up, identify, shelve. Here are the controls, the loop, and the tips that separate fast cleaners from slow ones.
The 30-second loop
- 1Pick up items with E (or RT on console) — grab several headed to the same zone.
- 2Identify the aisle: the twelve aisles are numbered, so think category first. Baking is 6, produce is 7, dairy is 11, beverages is 12. When an item is on the floor the game shows its category under its name.
- 3Walk to the aisle and look overhead for its number and name. Shelves are labelled with the aisle number plus a letter, like 6A.
- 4Click (RT) to place. Correct placements pay cash — spend it on upgrades between runs.
Step-by-step with screenshots
- 1
Read the HUD before you move
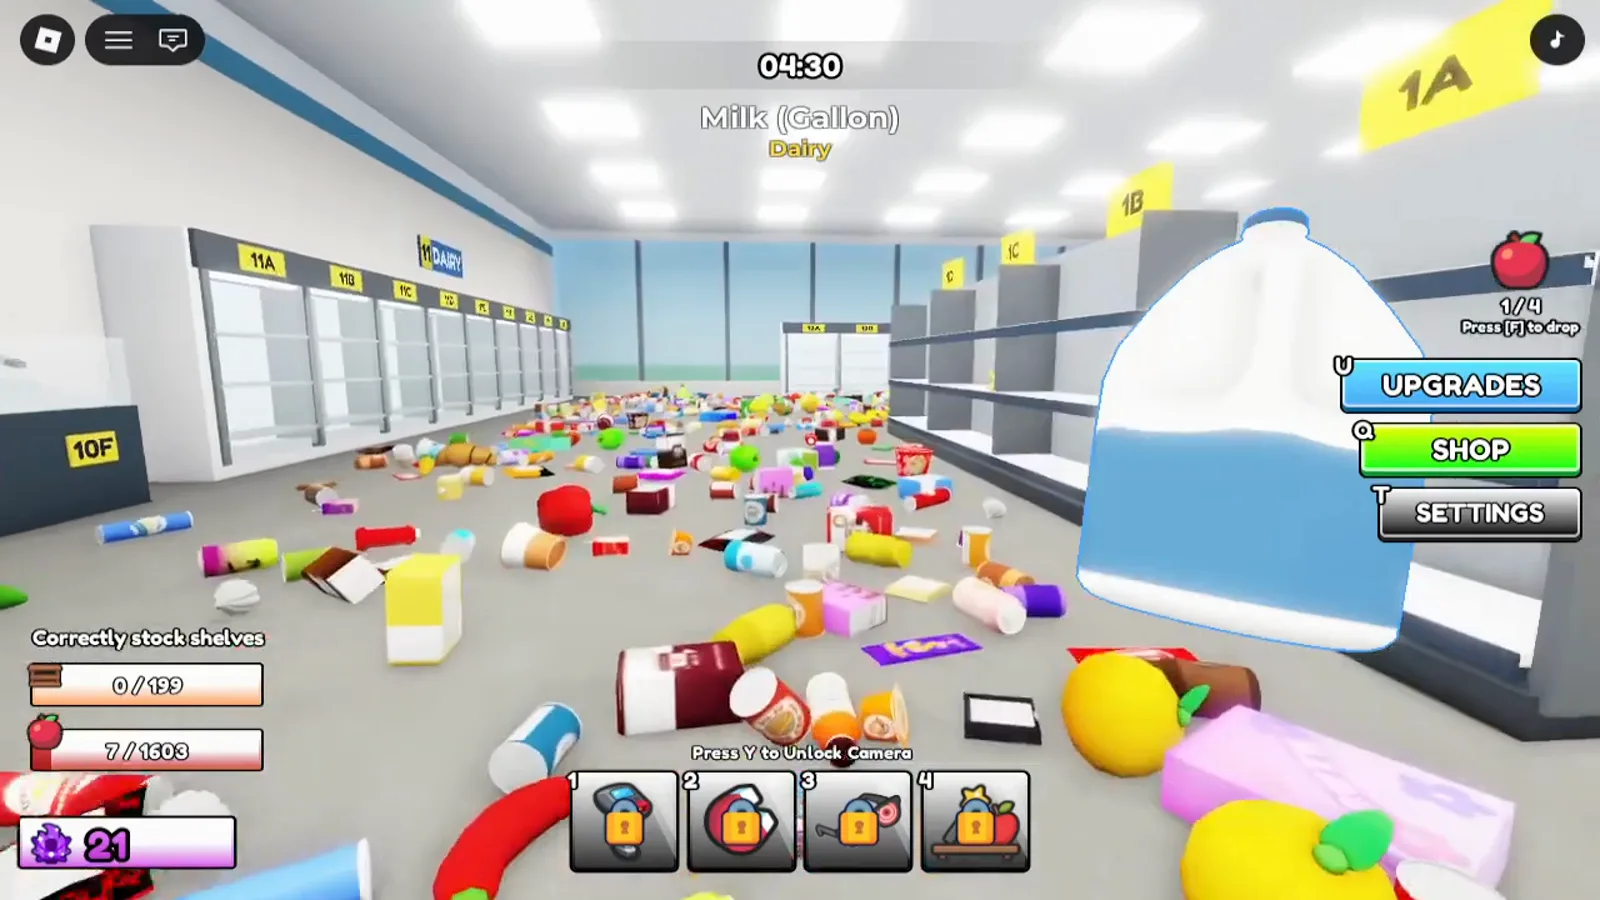
Your hotbar shows the tools you have unlocked, the UPGRADES button opens the shop, and the counters track how many items and shelves remain. Glance at these before you start hauling — they tell you when a shift is worth pushing for a speed badge.
Starting HUD — hotbar, upgrade button and item counters.Watch at 0:40 - 2
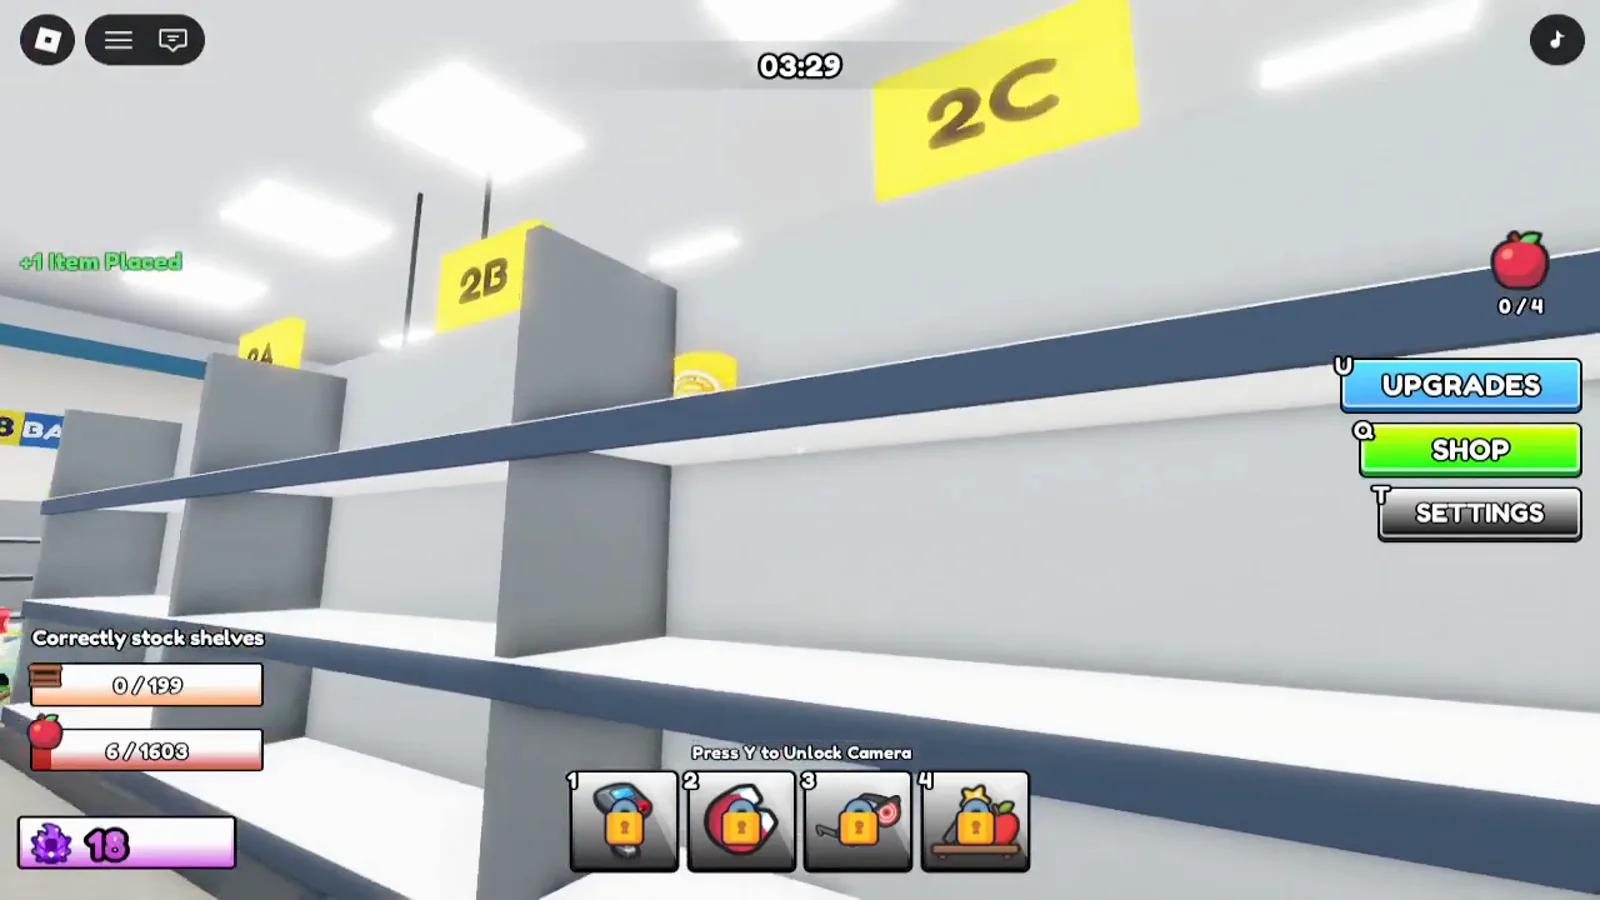
Find aisles by overhead signs
Each aisle has a hanging sign with its number and category. Bakery is aisle 8 — look for the sign before you walk the length of the store carrying bread.
Aisle 8 Bakery — overhead sign and shelf labels.Watch at 2:40 - 3
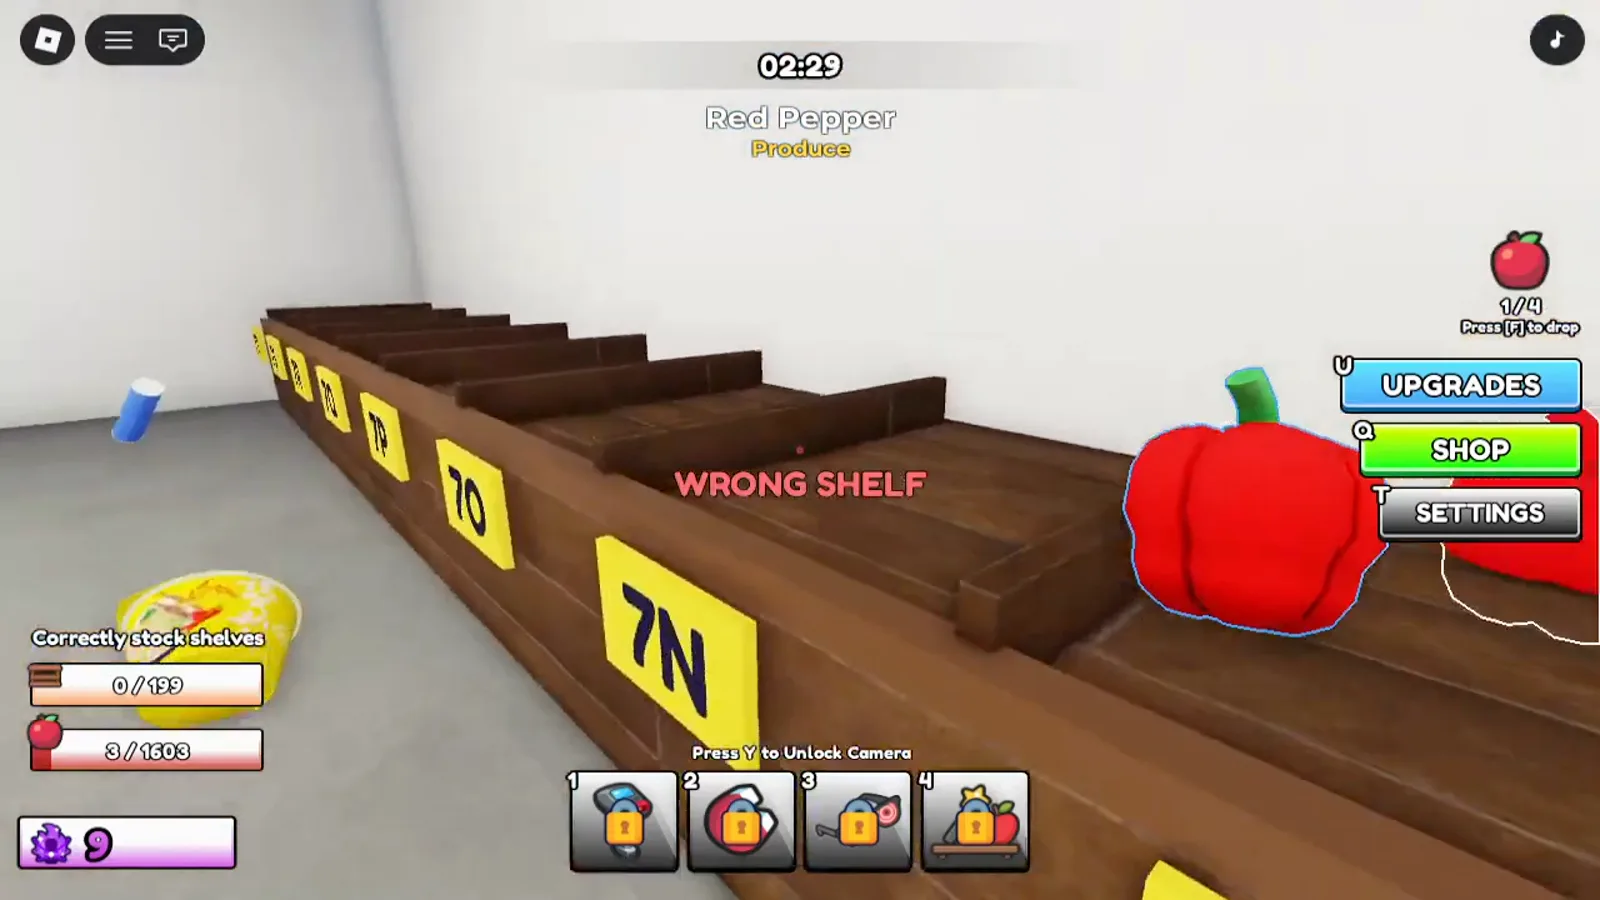
WRONG SHELF means try again
If the game rejects a placement you will see WRONG SHELF in red. That usually means a flavour or colour variant belongs on a different shelf, not just a different aisle.
WRONG SHELF feedback — try the neighbouring shelf code.Watch at 3:40 - 4
CORRECT SHELF pays points
A green CORRECT SHELF glow confirms the placement and adds points toward your next upgrade. Chain these in one aisle before crossing the store.
CORRECT SHELF — points toward your next upgrade.Watch at 4:40 - 5
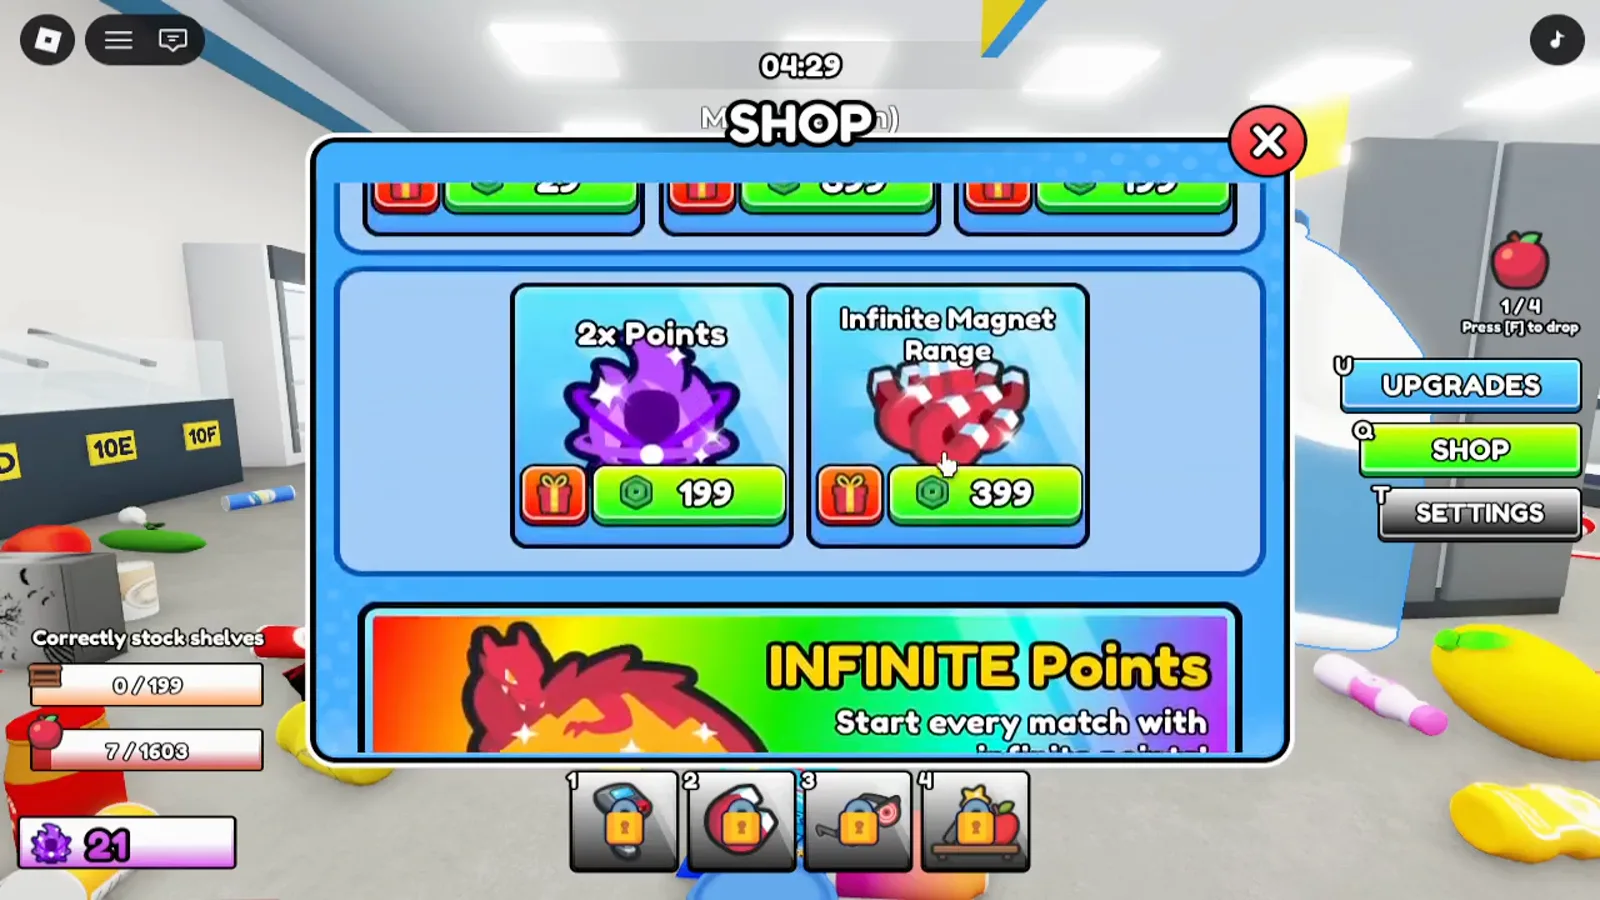
Spend points on finding tools first
Open UPGRADES from the HUD. The Price Scanner highlights every copy of the item you are holding — buy it before Movement Speed or the Magnet.
UPGRADES menu — Price Scanner is the usual first buy.Watch at 4:41
Controls
| Action | Desktop | Console |
|---|---|---|
| Interact / pick up an item | E | RT |
| Place an item | Click | RT |
| Drop the item you are holding | F | B / O |
| Use abilities | 1 – 4 | D-Pad |
| Open the shop | Q | — |
| Open upgrades | U | — |
| Unlock the camera | Y | — |
| Wipe save | T | — |
Tips that actually save time
Learn aisles by group, not item by item — the shelves are color-coded and themed, so you can place most items on sight.
Carry clusters, not singles. Scoop up items headed for the same or neighboring aisles and place them in one trip.
Start with the biggest items. Bakery, meat and seafood are easy to spot in the mess, and one loaf or fish can complete a shelf on its own.
Finish an aisle before you wander off — chasing one stray item across the store later costs more than it looks.
Common mix-ups
The game shelves by exact product, not just category, so colour and flavour variants each need their own shelf — the green and red Crispo bags do not share one. Aisle 9 Meat and aisle 10 Seafood are separate, as are aisles 1 and 2 which are both called Cans. If a placement is rejected you will see WRONG SHELF.