
Upgrade Order
The order you buy upgrades changes how fast every shift goes. Finding items beats moving faster — here is the full sequence, with the arguments against it.
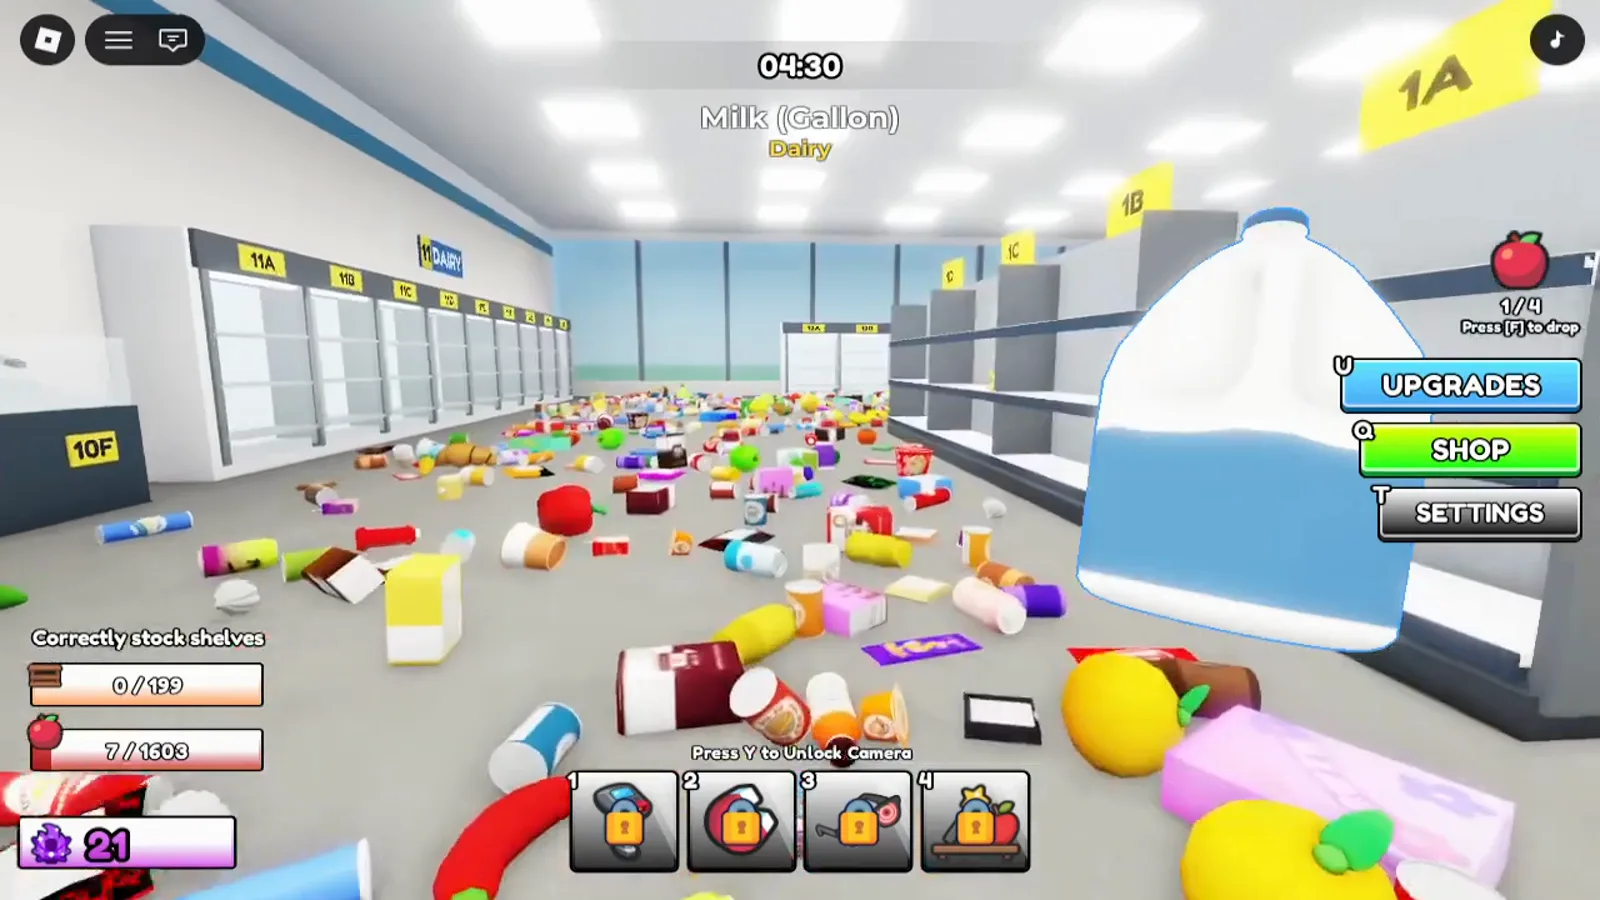
What to upgrade first, and why it matters
Every shift runs the same loop: pick items up, walk them to the right aisle, place them, get paid in points. With 1603 items spread across 199 shelves, the expensive part of that loop is not the walking — it is finding the next item and working out which shelf it belongs on. Upgrades that attack searching therefore pay back far more often than upgrades that attack movement.
That is the logic of the order below: buy the tools that find things first, the tools that carry and place things second, and raw speed once you already know the store. Costs scale per tier and the game publishes none of them, so treat the sequence as reasoning rather than arithmetic.
Quick summary
- Buy the Price Scanner first — finding items is the real bottleneck, not walking.
- X-Ray second: it answers which shelf, which is the question that actually stalls you.
- Items Held removes return trips; Movement Speed only shortens them, so it can wait.
- The Magnet is contested and the Auto Stacker rewards loading one aisle at a time.
Recommended order
| # | Upgrade | Type | Tier |
|---|---|---|---|
| 1 | Price Scanner | Ability | S |
| 2 | X-Ray | Ability | S |
| 3 | Items Held | Passive | A |
| 4 | Movement Speed | Passive | B |
| 5 | Auto Stacker | Ability | A |
| 6 | Magnet | Ability | C |
Why this sequence works
1. Price ScannerHighlights every matching item identical to the one you are looking for.
The usual first pick. Once an item type is highlighted you can sweep every copy of it in one pass instead of hunting them one at a time, which matters most for small items like beverages and chips.
2. X-RayHighlights the correct shelf for the item you are holding. Runs on a cooldown.
The answer to "where does this go". Most useful before you have memorised the store, and the reason beverages become manageable — instead of testing shelves one by one you are shown the slot.
3. Items HeldCarry more items per trip. Observed rising 4 → 8 → 10 → 12 → 14.
Every extra slot removes a walk back to the aisle, and the saving compounds across a 1603-item store. Worth topping up steadily rather than rushing to max.
4. Movement SpeedMove faster around the store. Can be maxed out.
Shortens every trip rather than removing any. Commonly bought last, though players who have already memorised the layout tend to value it earlier because walking becomes the real bottleneck.
5. Auto StackerShelves the matching items you are holding. Matches by aisle category, not by flavour or colour variant.
Underrated until you understand it. Because it matches on category rather than exact product, the way to get value from it is to fill your cart with items from a single aisle and then trigger it. One playthrough dismissed the abilities as useless, then called this "the best" after working that out.
6. MagnetPulls nearby loose items into your cart.
The most divisive upgrade. It grabs whatever is closest regardless of category, so you end up carrying a mixed load — one guide recommends skipping it entirely. The Infinite Magnet Range game pass extends it across the whole map, which changes the calculation if you own it.
Preset builds
First shift
Quick Start
- 1. Price Scanner
Save for the Price Scanner and nothing else. Until you can find items in bulk, every other upgrade is polishing a slow loop.
Early game
Core Three
- 1. Price Scanner
- 2. X-Ray
- 3. Items Held
Add X-Ray so you stop testing shelves by trial and error, then start topping up Items Held to cut return trips.
Late game
Full Kit
- 1. Price Scanner
- 2. X-Ray
- 3. Items Held
- 4. Movement Speed
- 5. Auto Stacker
- 6. Magnet
Movement Speed once you know the store, and the Auto Stacker if you are willing to load your cart one aisle at a time to exploit it.
Upgrade FAQ
What should I upgrade first in Clean the Supermarket?
The Price Scanner. It highlights every item identical to the one you are looking for, which turns a hunt through 1603 objects into a single sweep. X-Ray is the usual second pick because it highlights the correct shelf for whatever you are holding.
Is the Auto Stacker ability worth buying?
Yes, once you understand it. It shelves the matching items you are holding, but it matches on aisle category rather than exact flavour or colour, so the way to get value from it is to fill your cart from a single aisle and then trigger it. One recorded playthrough dismissed the abilities as useless, then called this one the best in the game after working that out.
How do I earn points faster for upgrades?
Points come from correctly stocked shelves, so completing shelves matters more than placing individual items. Start with the aisles whose items are physically largest and easiest to spot — bakery, seafood and meat — because a single loaf or fish can finish a shelf. Leave aisle 12 Beverages until late: the bottles are small and there are a lot of shelves.